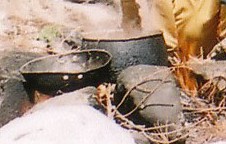
The basha or tarp tent is one of the simplest shelters to be used in the outdoors. Basha is particular well-suited for treks in tropical rainforests as there are many trees for which you can choose to tie the ridge line. When it rains during dinner preparation, basha provides a great shelter for cooking. In times of emergency, it provides shelter for the night, keeps out the wind and may be used as a reflector to a fire source to keep you warm.
The basic requirement of a basha is a waterproof sheet (tarp), two vertical supports, a means of forming a ridge line or spine and a means of securing the ends of the waterproof sheet. Due to the simplicity of the concept, there are numerous variants in the design and the methods that can be employed to set up one.
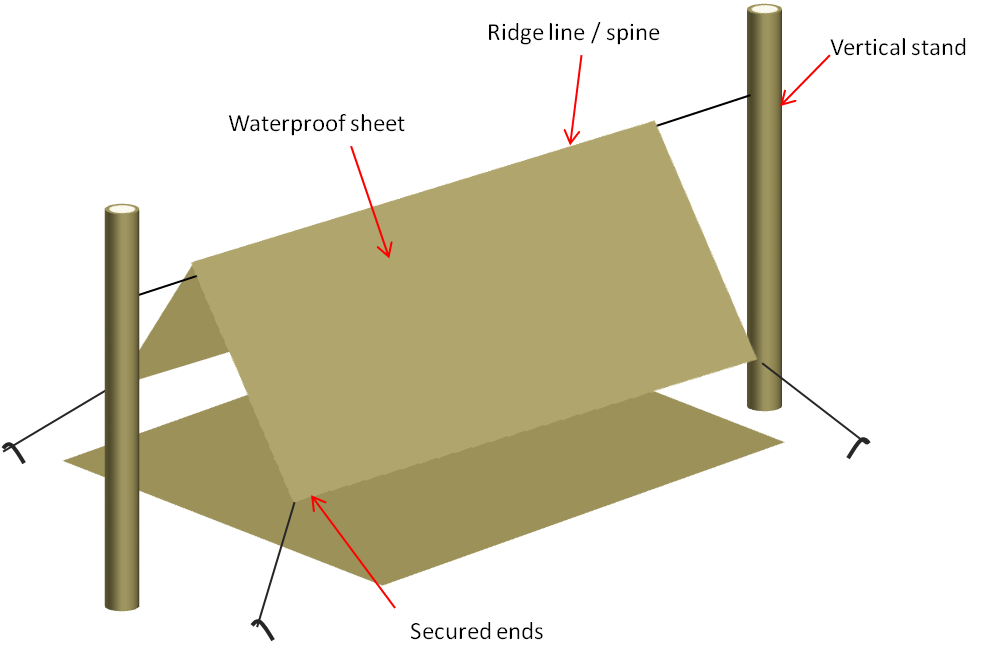 Parts of a basha |
Tarp (Waterproof sheet)
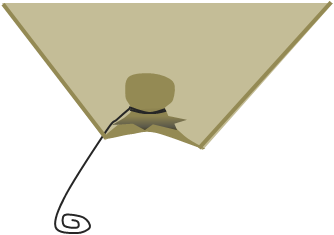 Stone wrapped at the end of a tarp for tying. |
Almost any thin plastic sheet that is strong enough to be secured to form the shape may be used to form the shelter although you may also find specially designed tarp for the construction of the basha. These tarps are usually waterproof, light weight, tear resistant and they comes with grommets (metal rings) at the corners and its mid-length. In times of emergency or improvisation, a poncho or even emergency blanket may be used. If there are no grommets for tying, use a small stone or crushed some leaves and wrapped it at the ends of the plastic sheet and tie with a string.
Vertical supports
In a forest, two trees suitably space apart may be used as the support to tie the ridge line. If there are no suitable trees, poles or long branches may be used as substitute although for added stability, they should be rammed into the earth. An alternative is to form a standing frame as shown below.
|
|
Ridge line or spine
 Forming a ridgeline using bungee cord to secure the mid-length of the tarp to the support. |
The ridge line or the spine is necessary to give the basha its height. This needs to be taut or sufficiently stiff to keep the shape of the shelter when the ends of the plastic sheet are secured to the ground. This is typically constructed from a strong and relatively thick nylon rope (diameter of 5 mm or more) around the trees or vertical supports. Alternatively, a long stick tied to A-frames may also function as the spine. For tarp with grommets at its mid-length, bungee or elastic cords may be used to hook onto the grommets and the other end secured round the vertical support.
Securing the ends
The most commonly used method is to use nylon string to tie the ends of the basha to pegs knocked into the ground. The position of each peg is such that the end that is inserted into the ground is pointing approximately towards the middle of the ridge line. The objective is to make sure that there is no crease or fold forming on the side of the basha and pegs are properly secured instead of easily pulled out by the tension of the string. Similarly, bungee cords may be used to secure the ends of the basha to the pegs.
If there are exposed tree roots at suitable direction, the string may be tied to them instead of pegs.
Heavy rocks may also be used to press along the edges of the basha to give its shape. However, this method will make the basha very low and also reduce the space inside it.
 Using heavy rocks to secure the edge of the basha. |
Procedure
Step 1. Tie a rope across the vertical supports to form the ridge line/spine.
|
Step 2. Put the tarp over the rope. The each ends of the tarp with the guideline (string).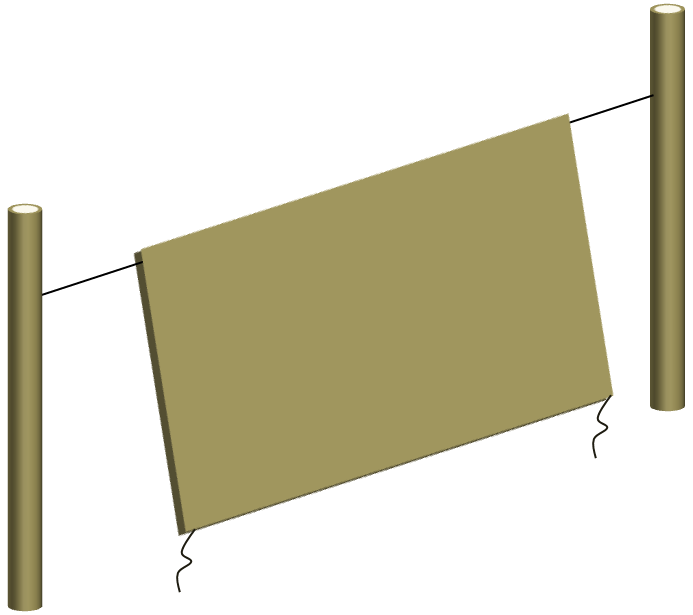
|
Step 3. Tie the guideline at each end of the tarp to its peg. If there are two of you, stand at opposite corners, spread the tarp apart to form half its shape and push the peg into the ground simultaneously. Note that the end of the peg that is pushed into the ground is pointing towards the center of the ridge line at about 45 ° from the ground. The pegs should be pushed into the ground to the extent that only the curved hook at the top is exposed. This is to ensure maximum anchorage. Switch to the other corners and repeat to get the A-shape. Adjust the angle of the tension applied to the tarp from the guideline such that there is no crease or fold on the tarp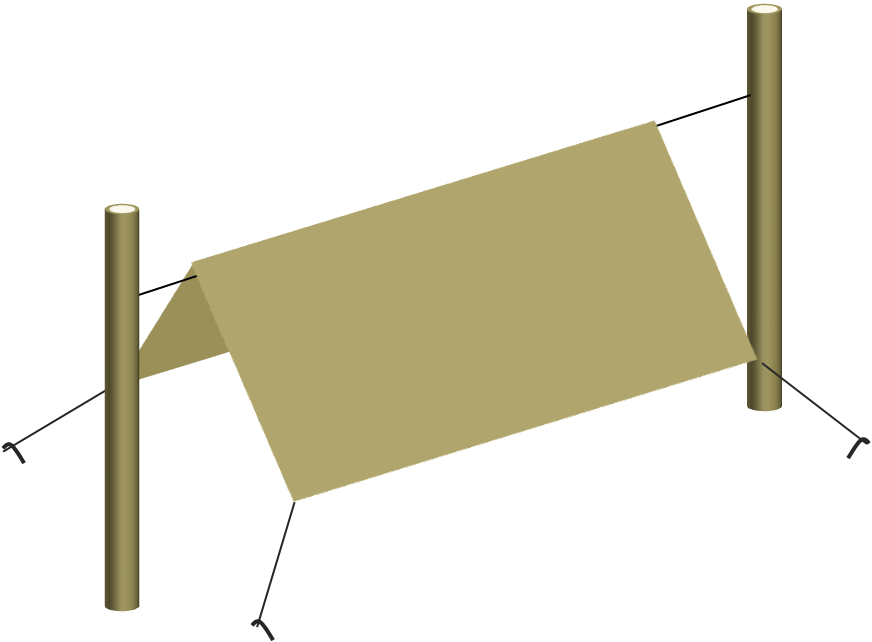 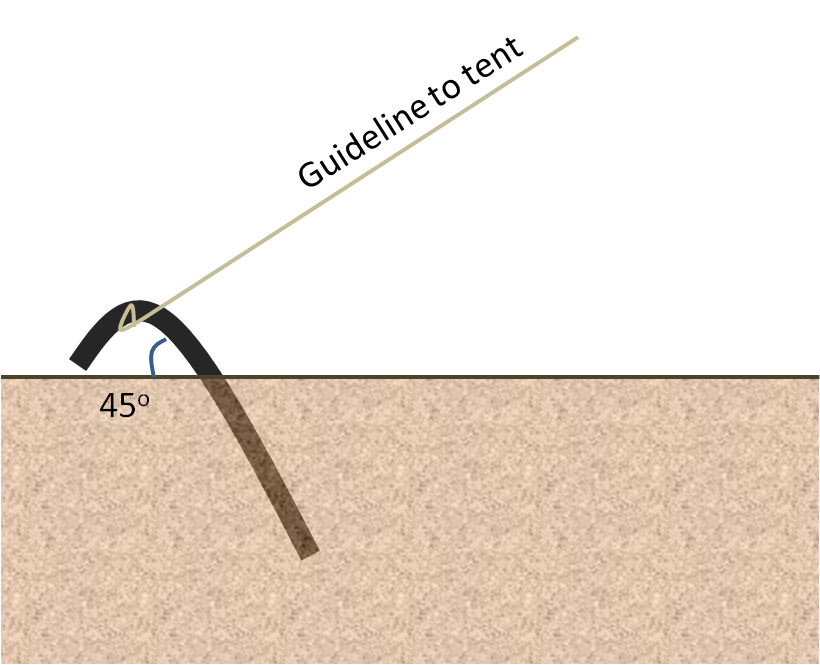
|